Earth Song Tiles: How our ceramic tiles are made
About us / Ordering & contact information / Tile making process / Tile installation gallery /
Tile design assistance / Tile color options / Celtic tiles / Plant & floral tiles /
Bird & animal tiles / Mythological & fantasy tiles / Plain tiles /
Home / E-mail /
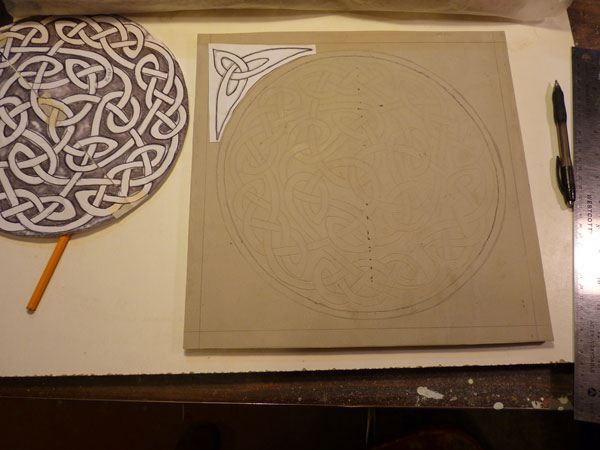
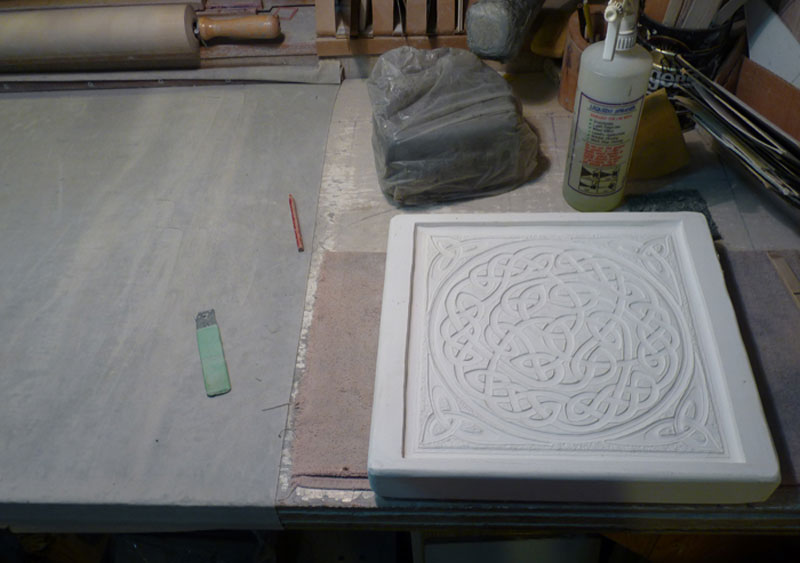
Laying out the design for a carving on a porcelain 'blank'.

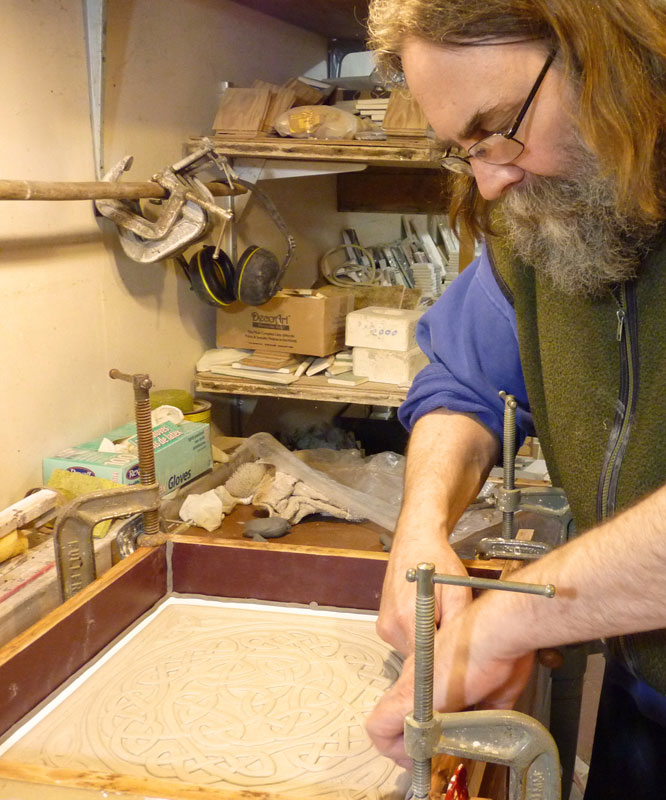
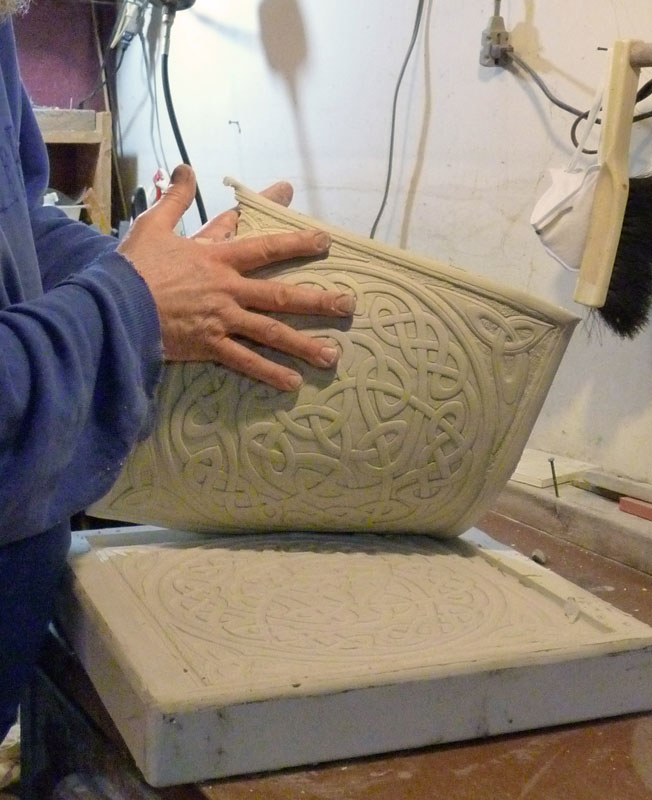
That would be me starting to carve a 12x12 Celtic knot tile.
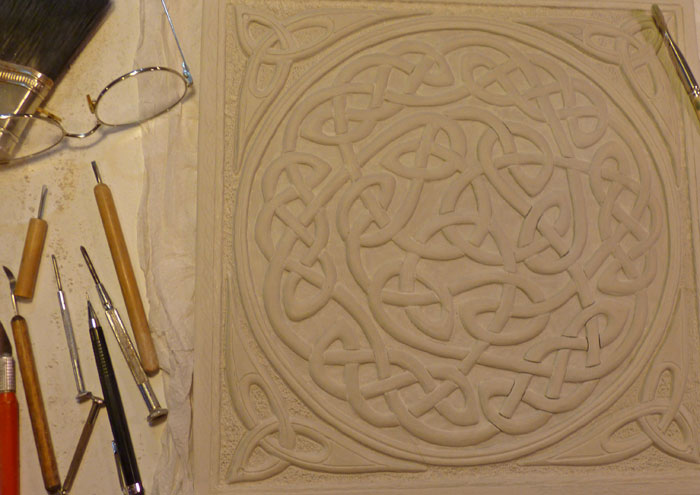
Carving done! Wasn't that fast! Actually, it takes many hours to design, lay out and complete a carving
using a variety of conventional and custom made manual carving tools.
John prepares a wooden frame around the carving to make a mold of it.
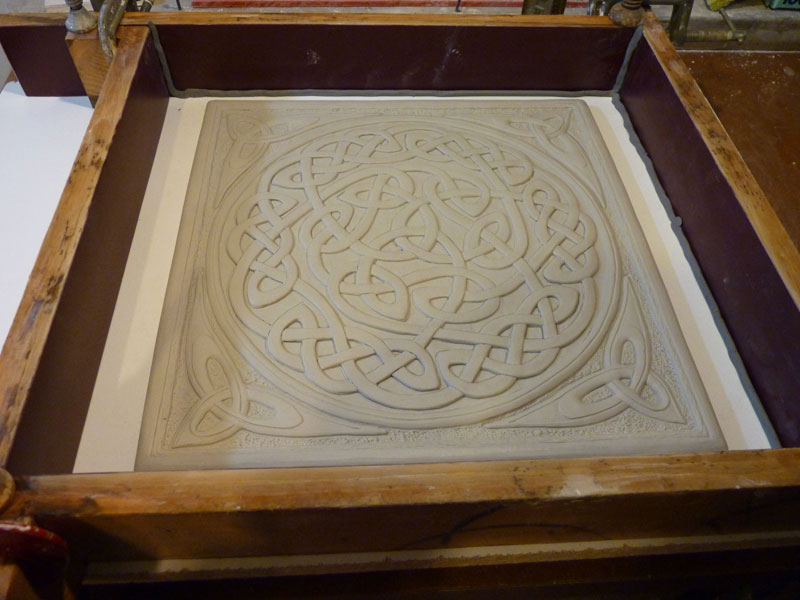
All set to make a mold!
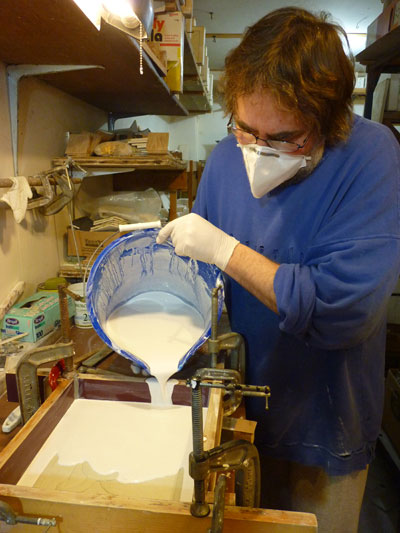
John is now pouring the prepared plaster into the mold box, over the carving.
This part is always a little tense, if anything goes wrong it's allot of hours of work down the drain.
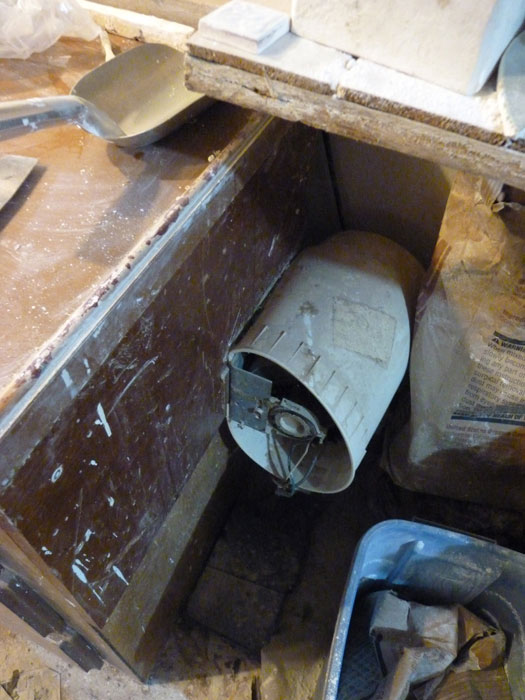
We have a reclaimed dryer motor with an unbalanced wooden fly wheel mounted on the pouring table.
This vibrates the table while pouring the plaster and ensures there's no air bubbles trapped in the mold.
Done!
The carving rarely survives this process and is thrown into the clay scrap pile.
We now have a master mold,
one tile or several in the case of smaller accent and border tiles,
will be made from this and another mold made from it.
This will become the production mold and the master will only be used when it's necessary
to make a new production mold due to wear or breakage.
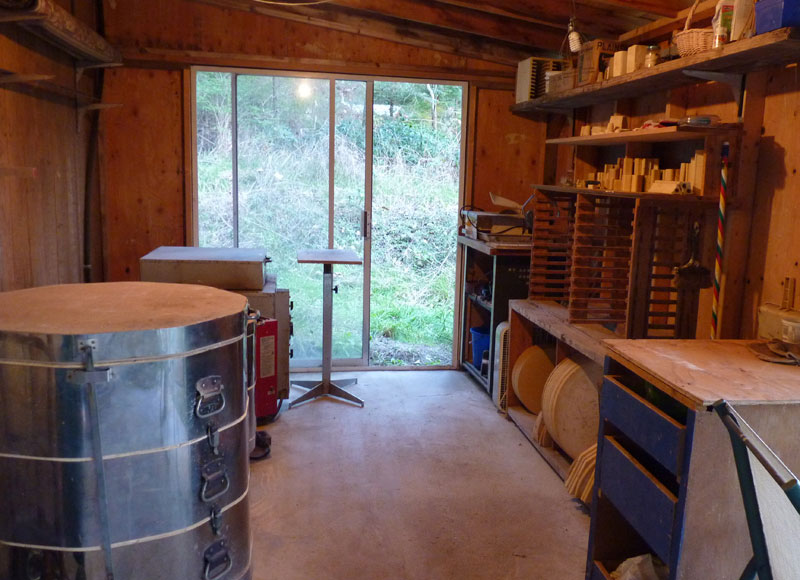
The tile making bench. A large heavy duty oak rolling pin is used
to roll out slabs of wet clay to a specific even thickness on the canvas covered surface of the bench.
Templates are used to cut the proper shape and size out of the slab to fit the mold.
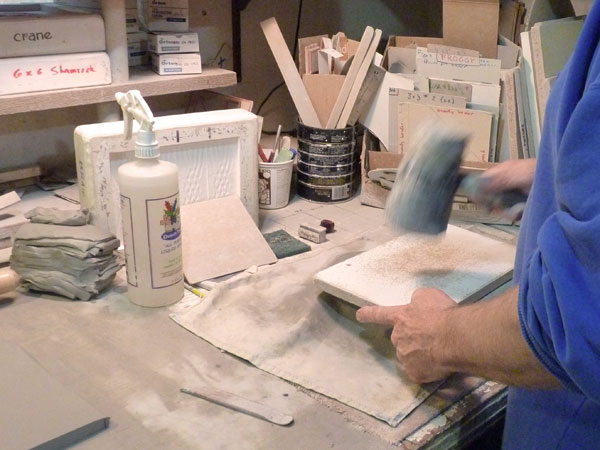
The cut slabs of clay are placed into the mold, covered with a board and pounded
with Johns very special duct taped wooden mallet.
Being an industry secret I can't show a clear picture of the mallet, wink, wink.
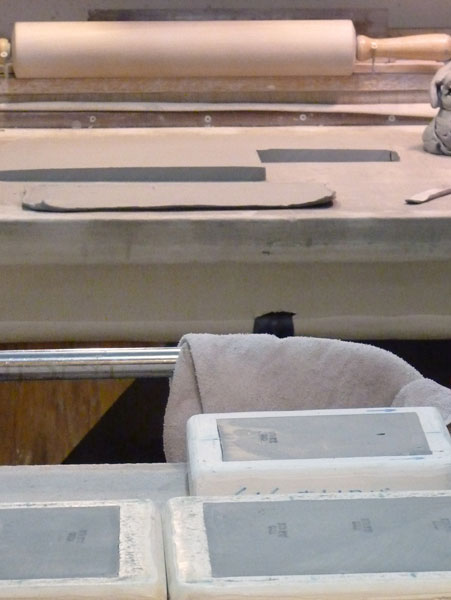
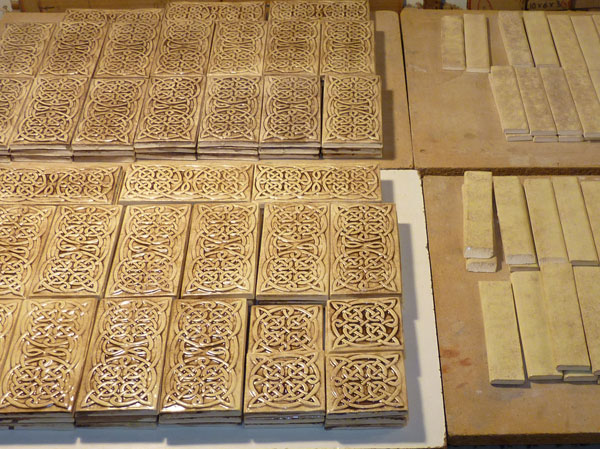
The backs are trimmed, stamped and set aside until they're dry enough to remove from the mold.
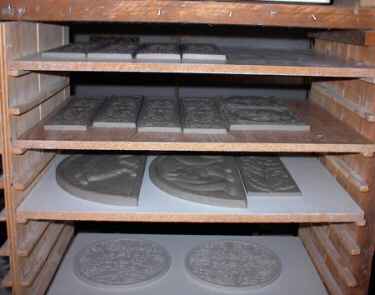
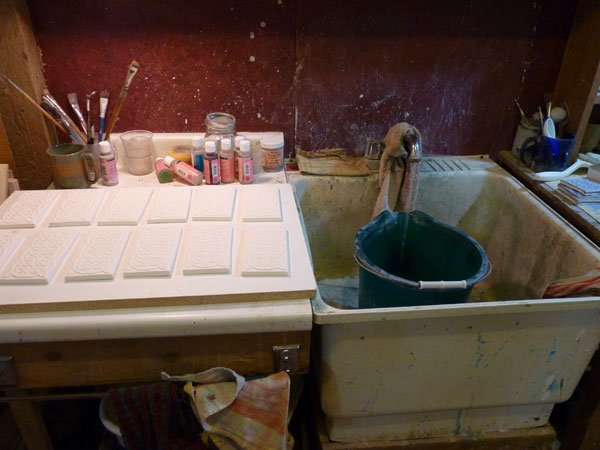
The tiles are dried slowly in drying racks to prevent warping.
This part just can't be rushed, especially with the larger tiles.
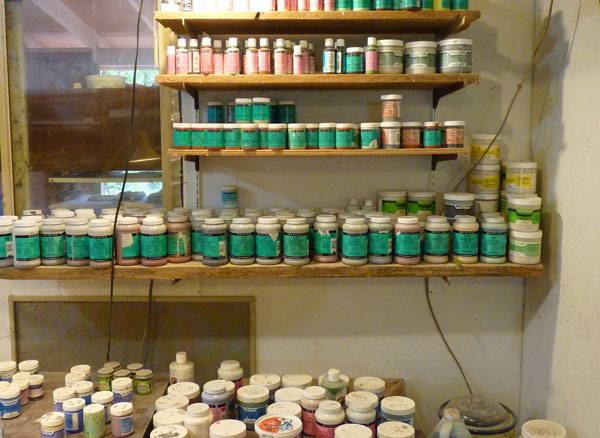
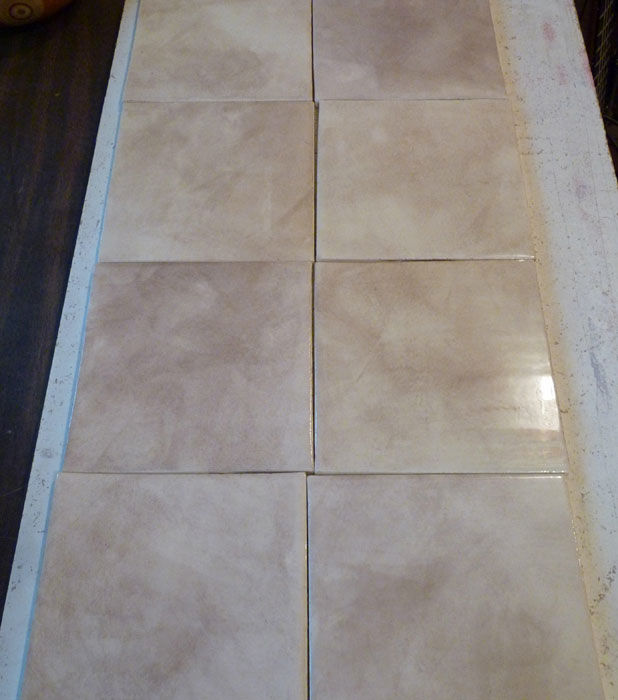
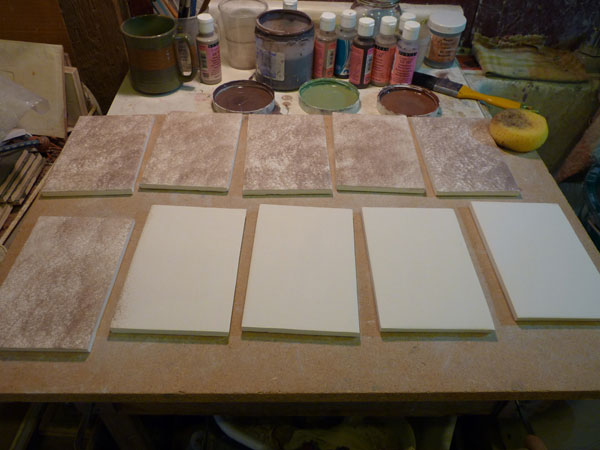
The tiles are dry and for some it's now time to start applying the color.
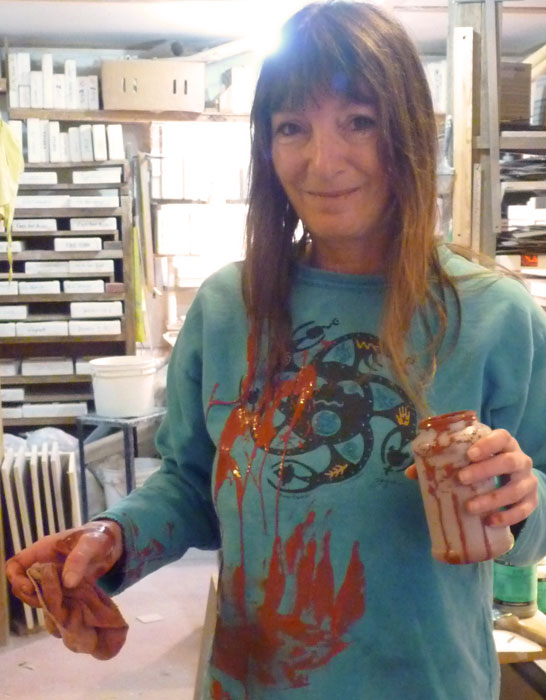
Oops! This is the wrong way.
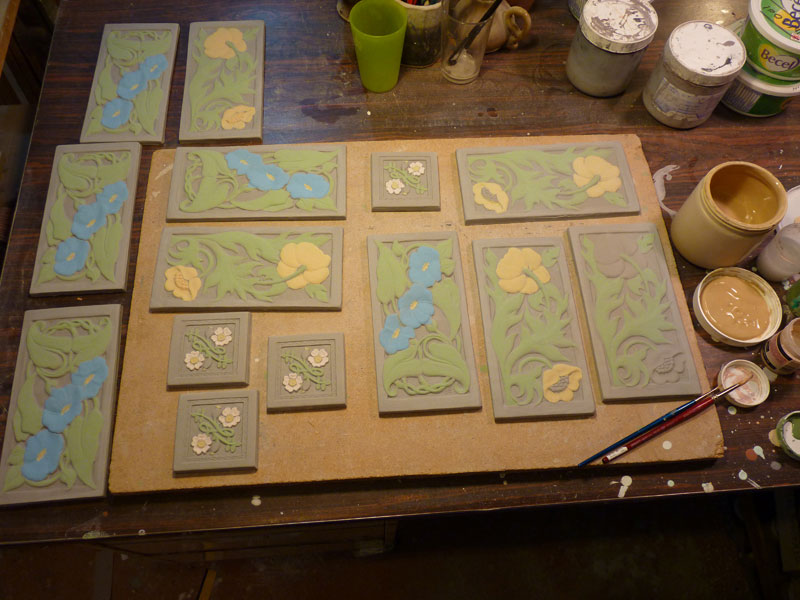
The tiles are decorated in a variety of ways, these ones are hand painted with under gaze
and will later have a clear gloss glaze over top.
All the tiles are fired twice at around 2000 degrees in one of our three kilns,
which generally takes two or more days. Most of that time being cooling down,
another thing that can't be rushed. The first firing is called a bisque firing,
the clay is now hard and any painted on under glaze is fused to the tile.
A glaze, either clear, colored, gloss or matte is then applied
to the tile and the second, generally final firing is done.
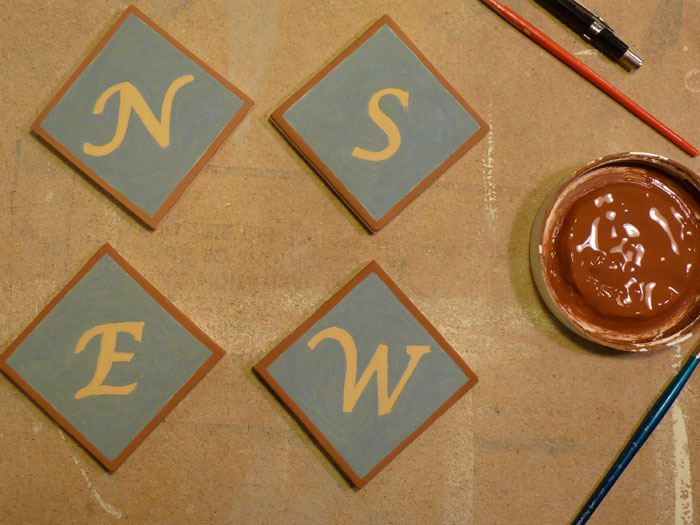
Bright gold, copper or mother of pearl are applied over a gloss glaze
and require another firing at a lower temperature.

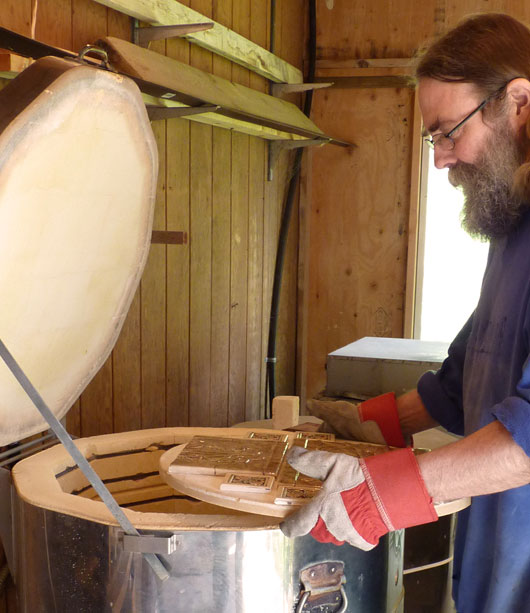
Unloading the kiln, still pretty hot.